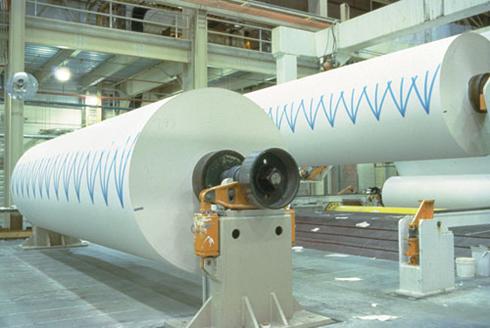

No matter how it occurs, failure is frustrating and costly. Especially when it comes to splicing tape failures. Whether it fails because of weakness (snap or tear), carelessness (installation error), or conditions (extreme heat), shutting down any production line is not only incredibly expensive, but potentially catastrophic.
Which is why it’s so important to understand how and why splicing tape failures happen.
Most Common Splicing Tape Failures
In our experience, splicing tape failures typically occur for one of five reasons:
- Temperature. Once a splice is made, many times they will get subjected to high heat down the manufacturing line. We’re talking 350-degrees or higher. And as we already know, the tackiness of the adhesive tape is very temperature dependent. Too cold and the tape won’t bond. Too hot, and the bond might melt.
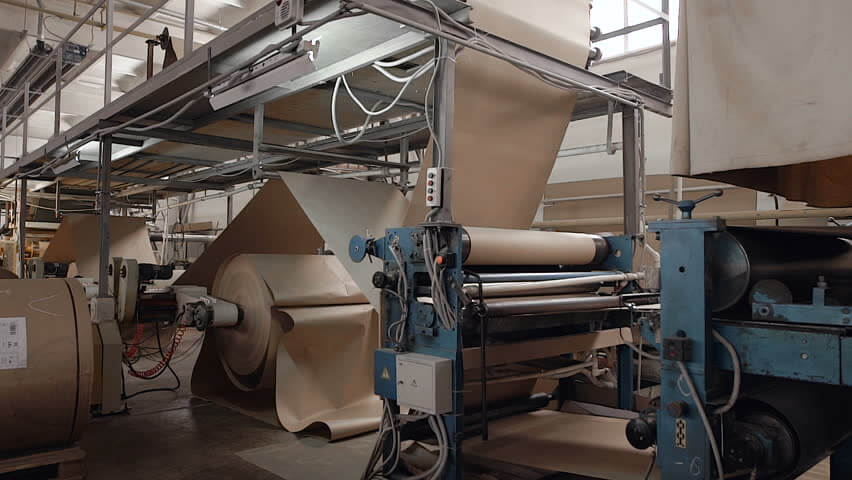
- Operator error. It’s not always roll and go. Did you put enough pressure on the tape? Did you clean the surface before applying the tape? Did you remember to remove the liner? (Yes, that happened!)
- Machine mis-calibration. Machines rely on two things to stay running properly: a skilled operator and routine calibration. If a splice bar isn’t calibrated properly, the splice might fail. It appears like an adhesive failure, but a micrometer difference in pressure or angle could affect the success of the splice.
- Speed. Flying splices are called that for a reason. They are splices done at very high speeds. You not only need a high tack for quick stick, but you need it to hold. Splicing tape failures can happen if you do not get one of these features in the tape you select.
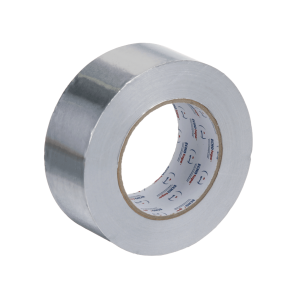
- Tape release. This one is simple… you didn’t choose the right tape for the substrate.
How To Prevent Splicing Tape Failures
1. Test, and test again. We get it. The package label made monumental promises, but generally speaking, tape testing should always be done prior to use and in the field with real conditions. Always test the tape to make sure it delivers the performance you expect.
2. Check the temperature. Carefully factor in the temperature variables, everything from storage temperature, ambient temperature and running temperature.
3. Check the speed and stress. How fast does the tape have to be applied? How quickly does it need to adhere? What about the stress factor? Splicing tape has to handle stress because the tape is the only thing holding one roll to another.
4. Consider the substrate. The correct tape for the right surface is critical. With new and improved products being made every day by manufacturers, substrates changes and sometimes the tape for splicing needs to as well.
5. Proper storage. Tape storage is sometimes critical for success. When materials are bought in bulk and stored in dirty, wet or extremely hot or cold conditions for extended periods of time, the tape adhesive could deteriorate. (Read more about extending the shelf life of your double-sided tape here.)
The bottom line: Every splice is different because of different substrates, converting conditions, etc. so you need to match the right tape to the right product.
For more information about tape visit The Complete Technical Guide to Adhesive Tape. To learn more about ECHOtape and how we help customers find the right tape for their job, you can read about us here or contact us with any questions you may have.